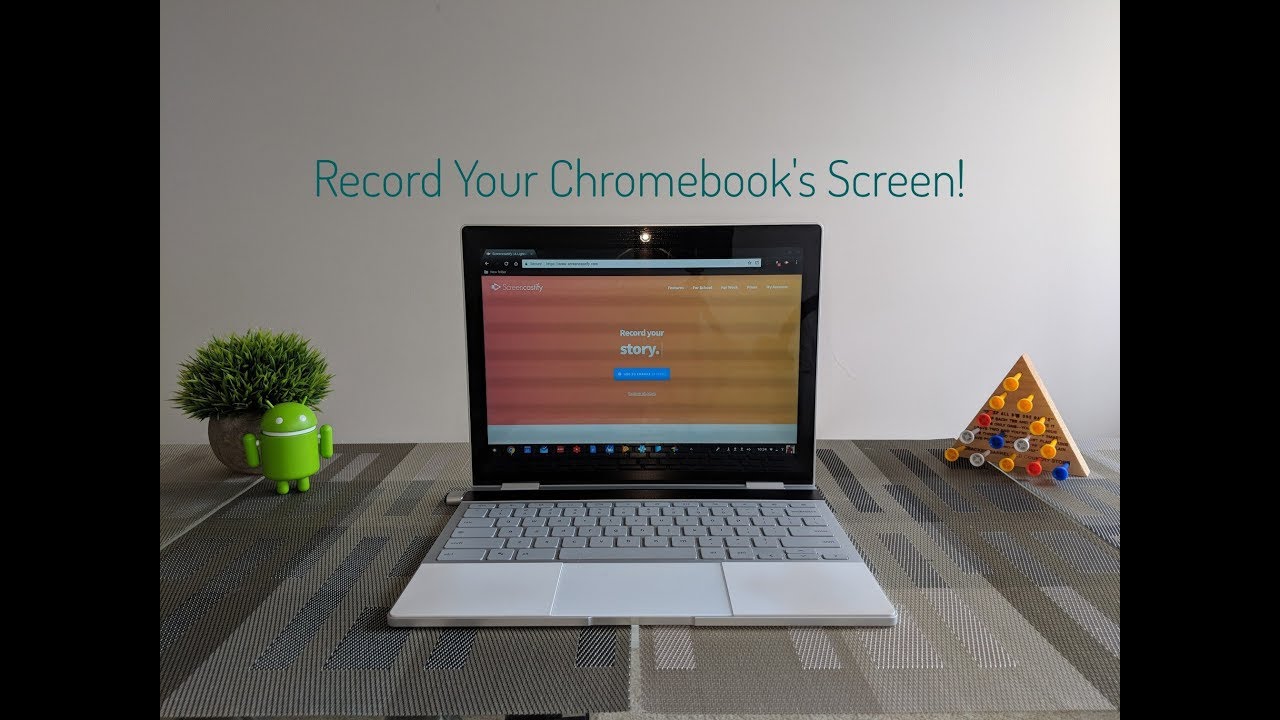
Recording your computer’s screen can sometimes be useful. For instance, imagine running a YouTube tutorial channel where you show how to use different photo editing software. You will need a screen recorder to let your audience know how to use a particular tool. It can easily help you get your point across and the viewers would be able to understand whatever it is that you do without getting confused. But the thing is that sometimes, a person has no other choice but to opt for third-party apps to do screen recording. And there is nothing wrong with that. I too often make use of my Spectrum internet package to get the best tool from the web to help me with various tasks.
How to Screen Record on Chromebook
Having a built-in tool in your device is always good. Luckily, Chromebook comes with screen recording software. This means that you no longer have to search for third-party tools. You can find the screen recorder software in the Quick Settings panel. This tool can be used to record video and to take static screenshots. It’s a decent tool and using it is super easy. Let’s now take a look at how it works.
- You will need to open the Quick Settings menu. This can be done by clicking on the clock that you will find on the lower right corner of your screen.
- Now, a menu will open. If it isn’t fully expanded then click on the arrow that you will be located on the top-right of the menu.
- Once done, you will see a Screen Capture option. Simply click on it.
- After hitting the option, the Screen Capture toolbar will show up at the bottom of your screen.
- Now, for screen recording, make sure that the video icon is highlighted. You will also notice a camera button beside it which you can use to take screenshots.
- After you have hit the video screen, you will notice three icons against it. Using these three icons will allow you to screen record in three different ways. The middle icon is for partial screen recording. The one on the left will be used for full-screen recording. And for recording a window, you will click the right icon.
- Now, before you proceed further, hit the gear icon. A dialogue box will pop up, asking if you want to record the microphone as you screen record.
Screen Record the Right Way
Do keep in mind that screen recording will vary depending on the type you selected.
- Full Screen: If you selected this option then you can click anywhere on the screen to commence recording.
- Partial Screen: For this, you will be required to drag the area that you want the tool to capture and then hit the record button.
- Window Screen: To do this, you will need to click the area or the window for the recording to start.
After you have made the decision regarding which type to go for, you can click the record button. Doing this will initiate a three-second countdown, following which the screen recording will start. Once the timer is up, your screen will begin to record. When you have completed your recording, simply hit the red button. This will stop the recording. A notification will appear as soon as you press the red button that will say ‘Screen Recording Taken.’ Now, you will be required to click it to head over to the file that will be located in the ‘Downloads’ folder. And when the folder opens, you can click on the video to watch your recording. You can also share the recording or save it on Google Drive if you feel like it.
An Alternative to Chromebook Screen Recorder
If you don’t like using the Chromebook’s built-in screen recorder then there is a smart alternative for this. Do you want to what it is? Well, you can simply open your Chrome browser and install relevant extensions! There are a variety of options for you to choose from and all of them are equally good. One option is Screencastify that is really easy to use and is quite efficient. However, you should be equipped with the basic knowledge of finding and installing extensions.
Conclusion
With the help of the built-in screen recorder of Chromebook, screen recording has never been easier. You can easily record your screen with the touch of a few buttons and have a crisp quality result. However, the only drawback is that the files will be saved only in WEBM format. You will need to search for an online tool that can convert it into MP4.
